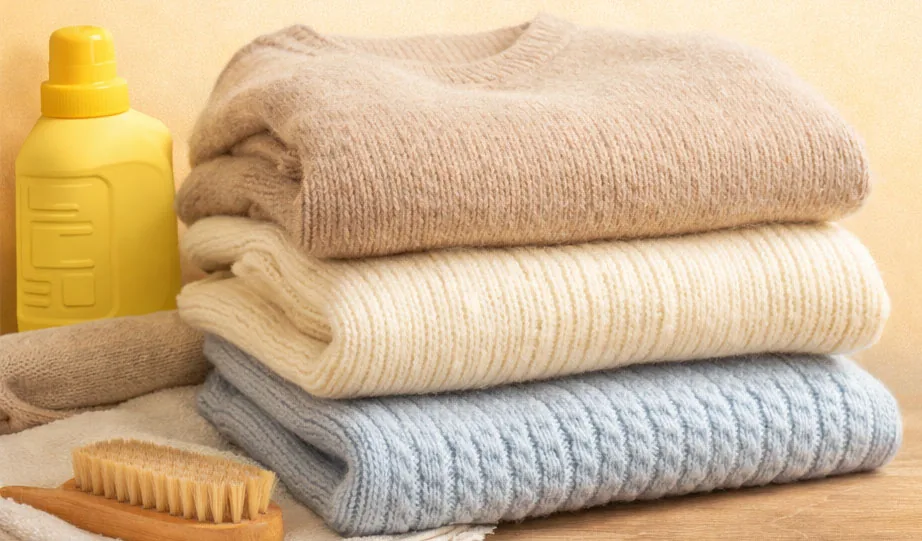
The most common problem when brands approach a factory with a reference image to develop a sweater: the factory asks for a process sheet, and the brand has no idea what one looks like.
The result is three to five rounds of back-and-forth communication, and the sample still comes out wrong — the fit is off, the neckline is wrong, and the fabric thickness feels completely different from the reference image.
In reality, developing a sweater from an image is not complicated. The information you send to the factory can be divided into three tiers. The more complete your submission, the more accurate the sample.
1. The Essential Three — The Minimum Required for Sampling
Whether you have only one reference image or a full set of design drawings, these three items are the minimum a knitwear factory needs to start sampling:
| Required Item | Description | What Happens Without It |
|---|---|---|
| Style reference image | Front + back views, clearly showing neckline, sleeves, hem, and silhouette | The factory has to guess; the result will likely be wrong |
| Size specification | Length, chest, shoulder width, sleeve length, hem width | The pattern maker uses a standard pattern, which may differ from your expectation by 3-5cm |
| Target quantity | How many pieces you plan to produce | Cannot assess the most suitable gauge and process solution based on volume |
If You Only Have One Reference Image
You can supplement information for the factory like this:
Reference image: attached Target fit: Oversized drop shoulder / Standard fit / Slim fit Target market: Women's / Men's (US-EU fit / Asian fit) Target thickness: Heavy for Fall/Winter / Light for Spring/Summer Estimated dimensions: Length approx. 60cm, chest approx. 110cm (based on similar products)With this information, the factory can match the closest pattern from its database and produce an initial sample.
Keep a reference garment for yourself. Buy a well-fitting sweater from a fast-fashion store that has the closest silhouette to your target style, measure it, and send it to the factory. A physical sample garment is far more accurate than any written description.
2. Intermediate Information — The Key to Getting It Right on the First Sample
The essential three items only guarantee "able to sample." To ensure the "sample is right on the first try," you also need the following:
2.1 Yarn Requirements
| Information Provided | Result |
|---|---|
| Just say "wool" | The factory may use the cheapest standard wool, resulting in a rough hand feel |
| Specify "Merino wool, 18.5μm fineness, budget RMB 120/kg or less" | The factory can precisely match the yarn; the sample hand feel will be close to expectation |
| Send a fabric swatch you want to emulate | The factory can find the closest matching yarn; highest success rate |
2.2 Process Instructions
Specifying the desired process effects is more accurate than leaving it to the factory to decide:
Gauge: 7G (standard thickness) / 12G (fine gauge, lightweight) / 3G (chunky thick) Stitch: Jersey / Rib / Cable / Jacquard / Intarsia Neckline: Crew neck / V-neck / Turtleneck / Mock neck / Spread collar Sleeve: Raglan sleeve / Drop shoulder / Set-in sleeve Hem: Ribbed finish / Natural curl / Straight hem Special requirements: Pockets, buttons, zippers, embroidered logoDon't know the process terminology? Simply annotate directly on the reference image: "a collar like this" or "a hem like that" — the factory's pattern maker will understand.
2.3 Color Reference
| Method | Accuracy |
|---|---|
| Pantone code (e.g., Pantone 18-1755) | ⭐⭐⭐⭐⭐ |
| Physical color card / fabric swatch | ⭐⭐⭐⭐ |
| Color picked from reference image | ⭐⭐⭐ |
| Just say "off-white" | ⭐⭐ (The factory's "off-white" may differ from yours by three shades) |
3. Advanced Information — Complete Tech Pack Checklist
For mature brands, or if you want to make a "professional client" impression, prepare a complete Tech Pack (process sheet).
A complete sweater Tech Pack includes the following:
| Item | Content | Description |
|---|---|---|
| Style drawings | Front, back, and side views or photos of the style | Annotate details for each area |
| Size specification | All sizes (S/M/L/XL) with length, chest, shoulder width, sleeve length, hem width | Specify cm or inch units |
| Yarn specification | Composition ratio, fineness, twist, color number | Include yarn supplier or alternatives |
| Process sheet | Gauge, stitch, neckline, sleeve, hem, density requirements | Can be annotated on style drawings |
| Finishing requirements | Washing method, pressing standards, shrinkage requirements, anti-shrink treatment | Directly affects final hand feel |
| Trim list | Buttons, zippers, labels, hang tag specs and placement | Include physical samples or images |
| Packaging requirements | Packaging method, hang tag position, carton packing quantity | Especially important for export orders |
The true value of a Tech Pack: A complete process sheet can reduce sampling communication by 3-5 rounds. For factories, clients who submit a Tech Pack are "clearly professional" and receive different levels of production priority and attention.
4. Size Specification Example (Ready to Copy and Use)
| Measurement | XS | S | M | L | XL | Tolerance |
|---|---|---|---|---|---|---|
| Length | 54 | 57 | 60 | 63 | 66 | ±1.5cm |
| Chest (half) | 44 | 47 | 50 | 53 | 56 | ±1.5cm |
| Shoulder width | 36 | 38 | 40 | 42 | 44 | ±1cm |
| Sleeve length | 54 | 56 | 58 | 60 | 62 | ±1.5cm |
| Hem width (half) | 38 | 40 | 42 | 44 | 46 | ±1.5cm |
Copy this table into Excel and send it to the factory with one note: "All measurements above are finished garment after washing. Please allow shrinkage allowance during sampling."
5. Common Mistakes
Mistake 1: More reference images are always better.
More is not necessarily better. The key is clarity — one clear front view + one clear back view + three detail shots (collar/cuff/hem) are far more useful than ten blurry full-body images.
Mistake 2: The size spec and reference image must match in dimensions.
If you specify "length 60cm" but the reference image appears to show 55cm, the pattern maker won't know which to follow. Either adjust the size spec or change the reference image — ensure the measurements and visual appearance align.
Mistake 3: One front-view image is enough.
A front view doesn't show sleeve angles, whether the hem is straight or curved, or whether there are seam lines on the back. Provide at least front + back views, with close-ups of key areas.
Frequently Asked Questions
I don't have a size spec. Can the factory recommend one?
Yes. Tell the factory your target market (women's/men's, US-EU fit/Asian fit) and style (slim/standard/oversized). Most knitwear factories have a standard pattern database to match against. However, you must have a sample made and try it on before final confirmation — don't skip the fitting step.
What's the difference between a Tech Pack and a process sheet (Spec Sheet)?
A Tech Pack is a broad "product development package" that includes style drawings, size specs, yarn specifications, process requirements, trim lists, packaging requirements, and all other information. A process sheet (Spec Sheet) is the core component of a Tech Pack, specifically referring to the technical parameters for the knitting process.
What if the factory doesn't understand my process instructions?
Screenshot annotation is the most direct method. Use arrows and text on the style drawing to indicate the desired effect — factory pattern makers understand visuals better than text. If communication is difficult, ask the factory to provide a flat pattern sketch for confirmation before sampling.
First cooperation — how complete does the Tech Pack need to be?
Style drawing + size spec + yarn preference + target quantity — these four items are sufficient. You don't need to submit a full Tech Pack all at once. As communication deepens, supplement process details and finishing requirements. The most important thing is to start sampling quickly and use the physical sample to calibrate expectations.
Before sending documentation to a factory, you may want to read what to prepare before your first knitwear factory inquiry. If you have specific development needs, feel free to contact us directly.